


Migrating a WordPress site is a common task, thanks to user-friendly plugins like All-in-One WP Migration. However, managing large backups can pose challenges, particularly when encountering upload file size limits. In this blog post, we’ll guide you through the process of overcoming these limitations and mastering the restoration of substantial WordPress backups using All-in-One WP Migration.
Understanding the Challenge
All-in-One WP Migration, a popular plugin for WordPress backups and migrations, imposes file size limits on backups. While the plugin provides an Unlimited Extension for purchase, we’ll explore alternative solutions for users who prefer not to invest in additional features.
Resolving Server Upload Limits
The primary hurdle with large backup files is often the server’s upload limit, typically configured in the php.ini file on your web host. To ensure a smooth restoration process, follow these steps:
Using WP File Manager for Direct Upload
- Install File Manager: Start by installing the File Manager plugin on your target WordPress site.
- Copy Backup File Link: Create a backup on your source site and, instead of downloading the file, copy the backup file link.
- Navigate to File Manager: Go to the file manager page on your target website, specifically to
wp-content > ai1wm-backups. - Upload Backup Directly: Right-click on an empty area, select “Upload files,” and paste the copied backup file link.
- Automatic Server-to-Server Upload: The upload process begins automatically, eliminating the need to download and re-upload large backup files.
Restoring the Backup File
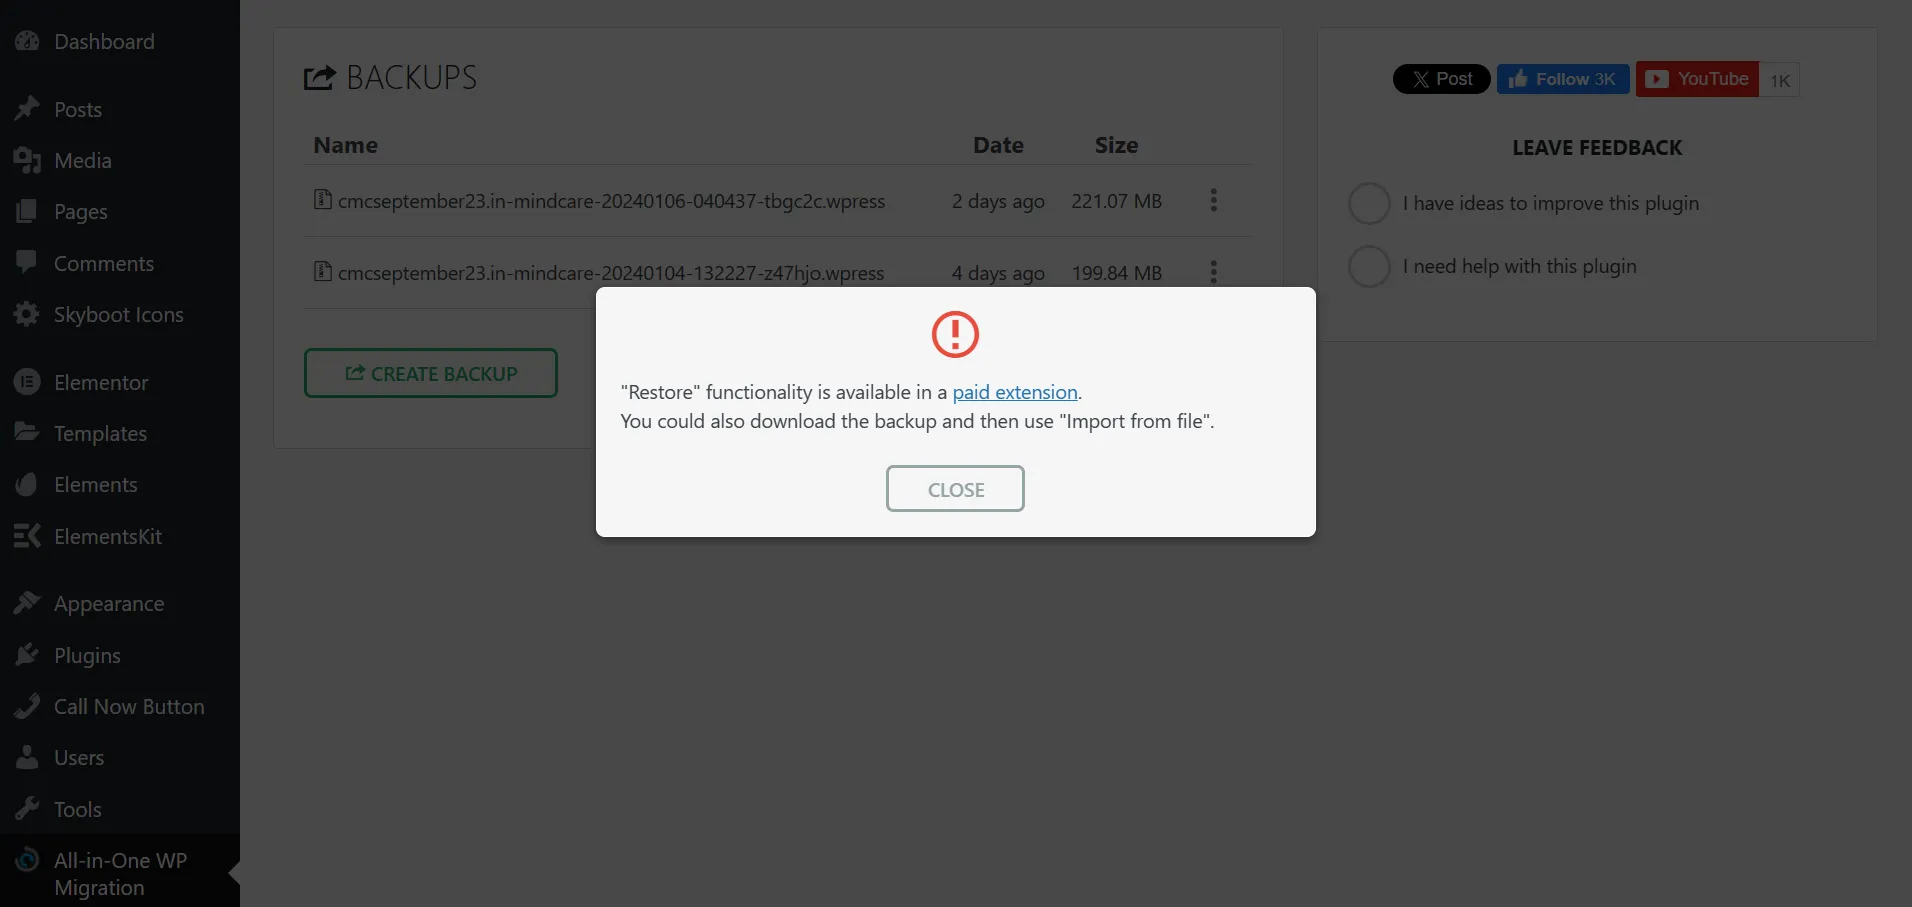
Upon reaching the All-in-One WP Migration backups page ([yoursite.com]/wp-admin/admin.php?page=ai1wm_backups), you may notice that restoring prompts a request for the paid extension. However, with a clever JavaScript workaround, you can bypass this limitation.
Bypassing with JavaScript
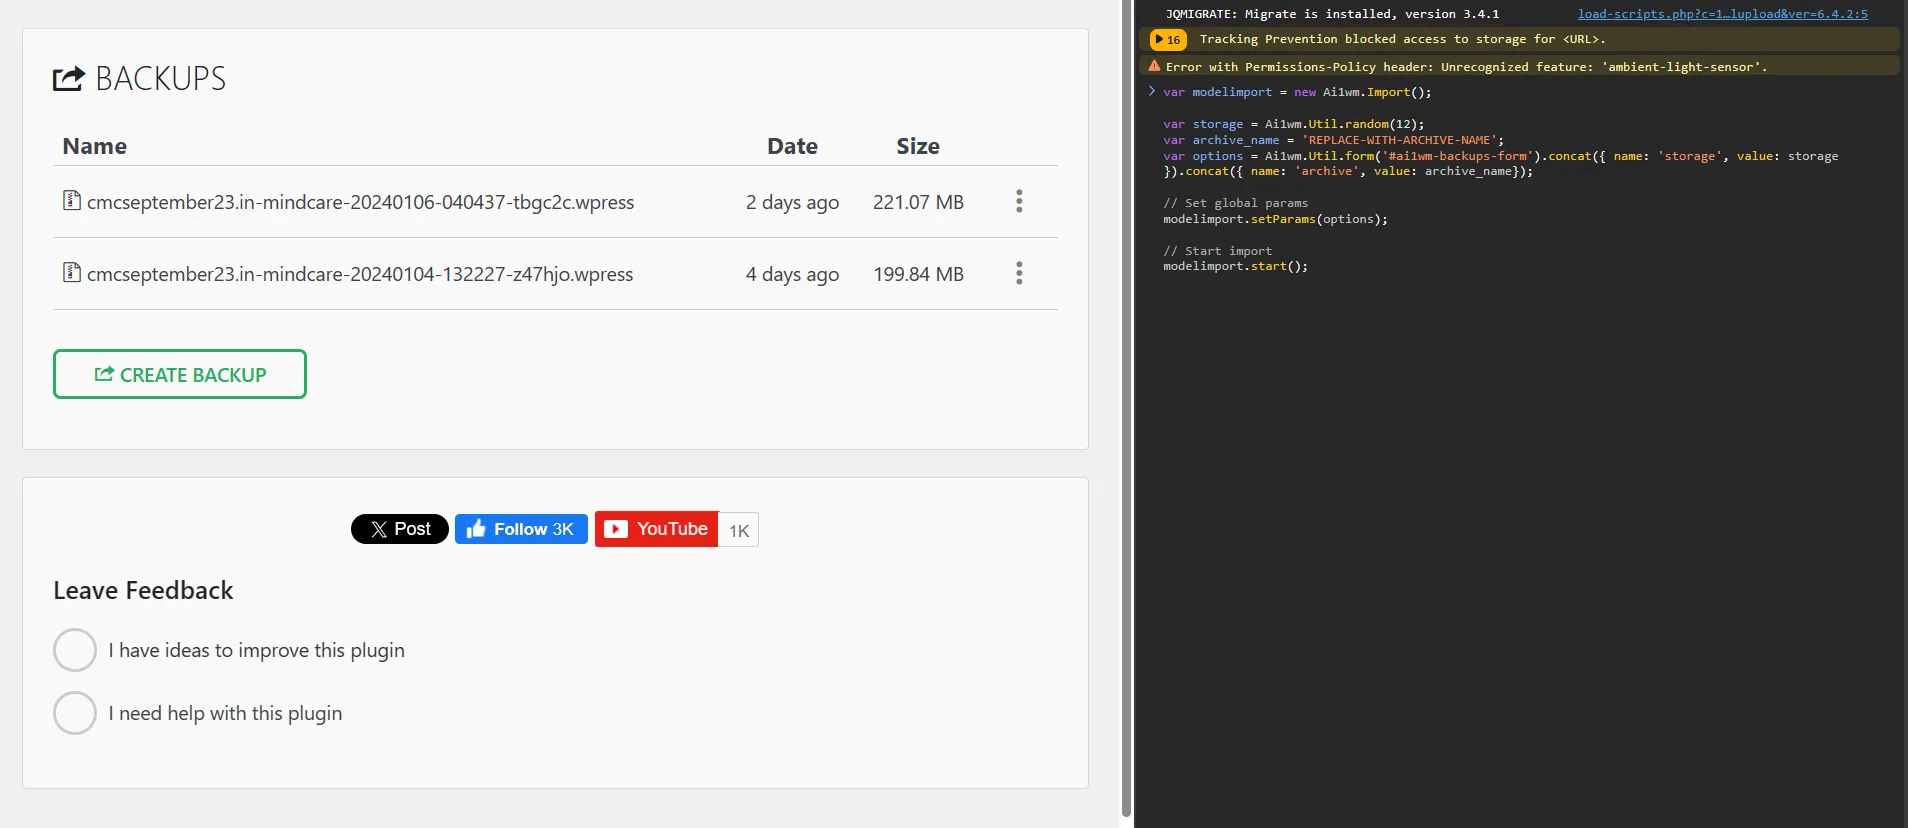
- Access Chrome DevTools: Open Chrome DevTools on the All-in-One WP Migration backup page (
Right-click > Inspect ElementorCTRL+Shift+J). - Navigate to Console Tab: Go to the Console tab within DevTools.
- Paste JavaScript Snippet: Copy and paste the provided JavaScript snippet into the console. This snippet tricks the plugin into initiating the restore process without the need for the paid extension.
					var modelimport = new Ai1wm.Import();

var storage = Ai1wm.Util.random(12);
var archive_name = 'REPLACE-WITH-ARCHIVE-NAME';
var options = Ai1wm.Util.form('#ai1wm-backups-form').concat({ name: 'storage', value: storage }).concat({ name: 'archive', value: archive_name});

// Set global params
modelimport.setParams(options);

// Start import
modelimport.start();
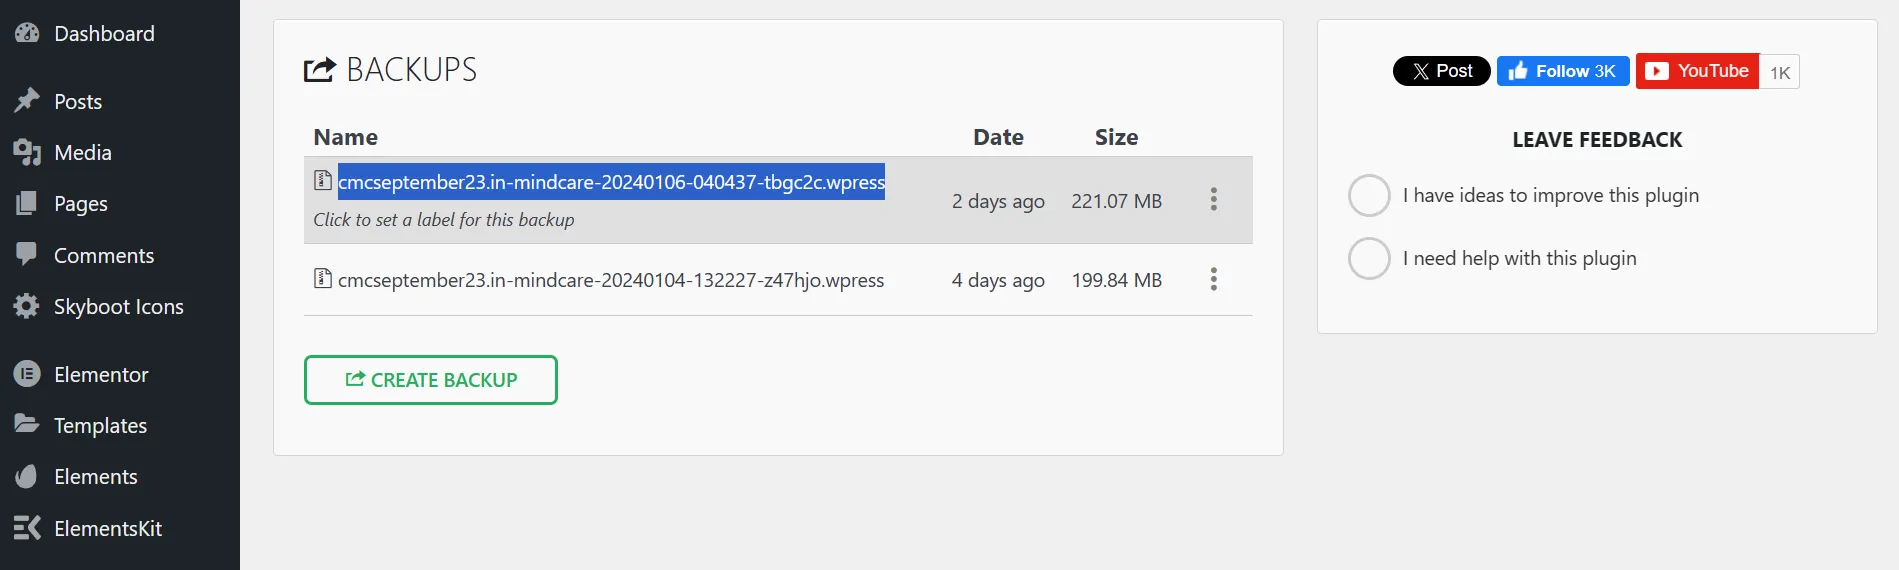
- Edit Archive Name: Replace
'REPLACE-WITH-ARCHIVE-NAME'with the name of your backup file.
- Edit Archive Name: Replace
- Initiate Restore: Hit enter, and the restore process should commence immediately.
Successfully mastering large WordPress backup restoration requires careful navigation of upload file size limits. By utilizing tools like WP File Manager and clever JavaScript snippets, you can ensure a seamless transition even with extensive backups. These techniques empower you to handle large-scale WordPress migrations effectively, enhancing your website management capabilities.
